(Note: For now, DLT registration is free in Videocon, so process fast.)
DLT Registration Process in Videocon
1. Visit Videocon DLT portal: https://pingconnect.in/entity/register-with
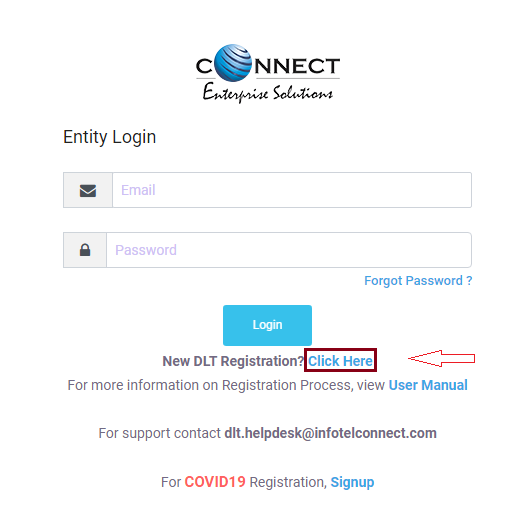
2. Select type ‘As Entity‘ to signup/login to DLT portal and click on the Next button. 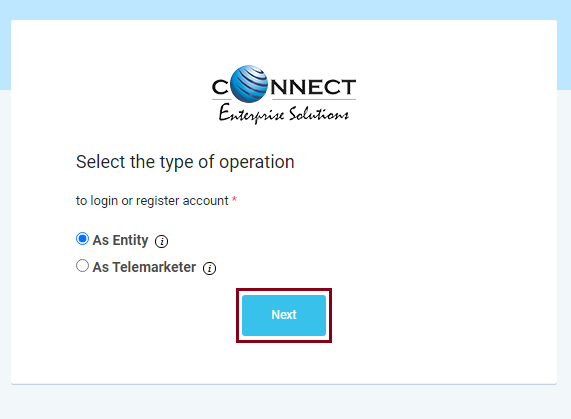 3. Click on the ‘Click Here‘ link, for New DLT Registration.
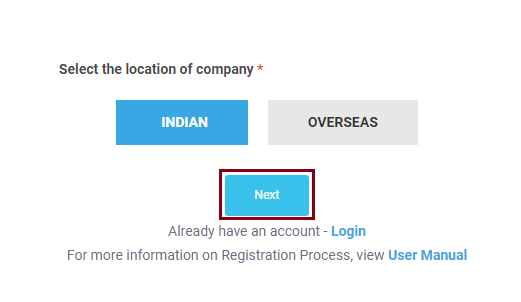
4. INDIAN (Default) is selected, click on the Next to continue with the registration process.
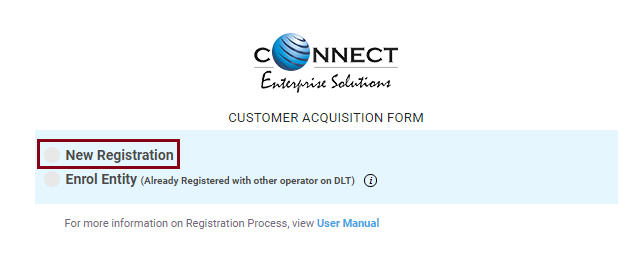
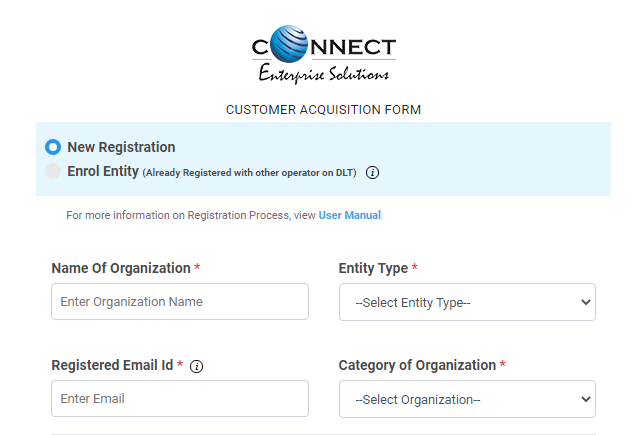
5. A ‘Customer Acquisition Form’ page will appear on your screen. Select the New Registration button if you are registering for the first time on the DLT platform.
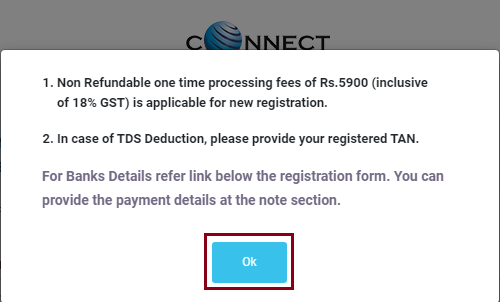
6. A message about fees will appear on your screen. Click on the OK tab. (It is Free for now, no need to pay fees.)
7. Another page will get displayed where you need to provide organization and company details. Enter your Organization’s Name, Entity Type, Email ID and Category of the Organization.
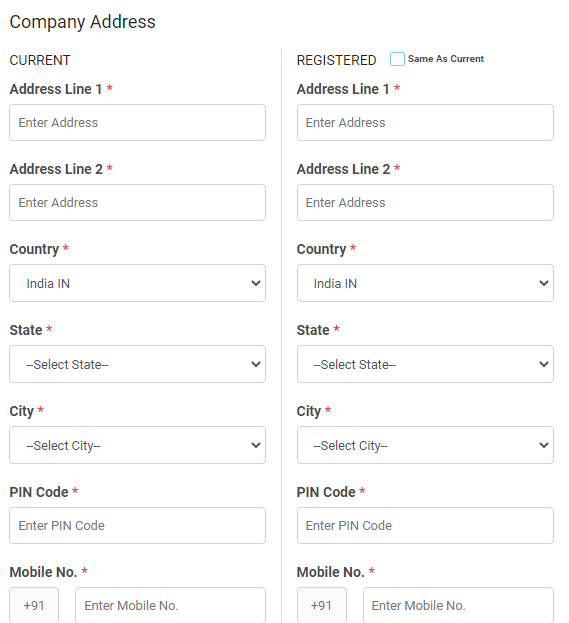
As you scroll down the list, you need to enter your Company Address, Country, State, City, PIN code and Mobile number.
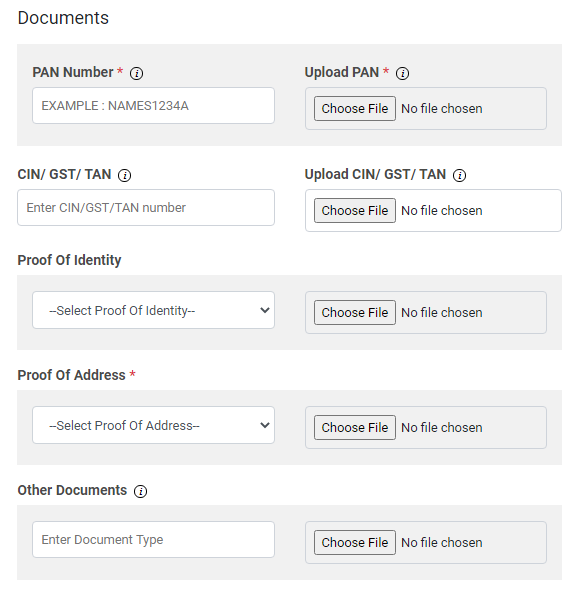
Further, you need to upload your company documents such as PAN Card, CIN/GST/TAN, Identity Proof, Address Proof and Other documents. As shown below, firstly you need to enter your document details and then upload the document file.
Proof of Identity: Following documents can be uploaded and accepted as Identity Proof
- GSTIN
- Aadhar or Unique Identity Number
- Election Commission ID
- Passport
Proof of Address: Documents accepted as Address Proof are:
- Aadhar
- Unique Identity Number
- Election Commission ID
- Passport, Electricity Bill (Not older than 3 months)
- Telephone Bill (Not older than 3 months)
- Lease Agreement/Registered Sale
Next in the list, you need to enter the details of the Authorized Person. Enter Name, Mobile number, Designation, Email and upload the Authorization Document. The Authorization document can be written in a word document and uploaded as a file in the Authorization Document Field.
Click Here to download sample Letter of Authority.
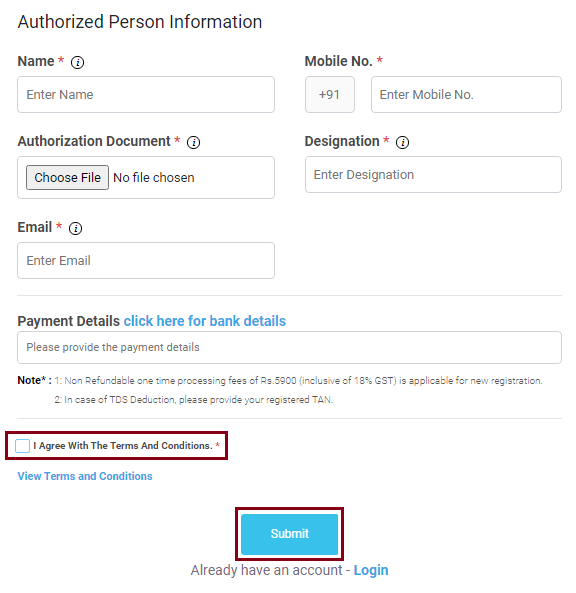
Leave the payment details field blank as there is no registration fee for you. Click on the checkbox ‘I Agree With The Terms and Conditions‘ and then Click on Submit. An OTP will be sent to your registered mobile number. Enter the OTP to complete the mobile number verification.
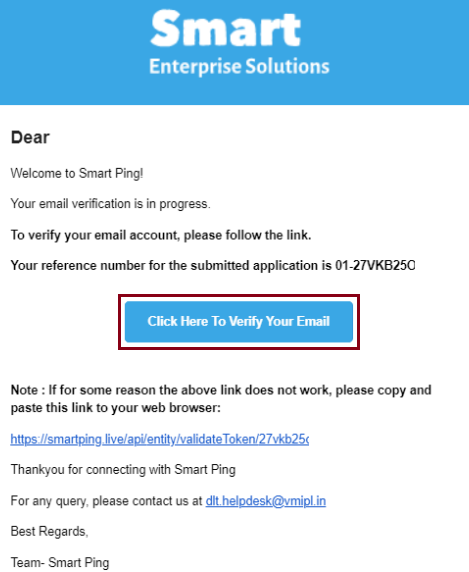
8. An Email from [email protected] will be sent to your Email ID as displayed in the image below. Click on the link ‘Click Here To Verify Your Email‘ received in your email inbox to complete the Email verification.
After that you need to wait 2-3 days for the approval of your entity. You’ll receive email/sms containing your login details after approval.
What Next after (Step 1) Entity Registration completed?
STEP 2) Add Header (Sender ID): After DLT account approval, Login to your DLT account and Add your Headers (Sender IDs). You can use your Sender IDs after approval. (Guide to Add Headers (Sender IDs))
STEP 3) Add Content Template: After Header (Sender ID) approval in DLT portal, Login to you DLT account and Add Content Templates. (Guide to Add Content Templates)
Was this helpful?
5 / 0